
| Continuum Fingerboard /\ | ||
|
Check out my YouTube channel. |
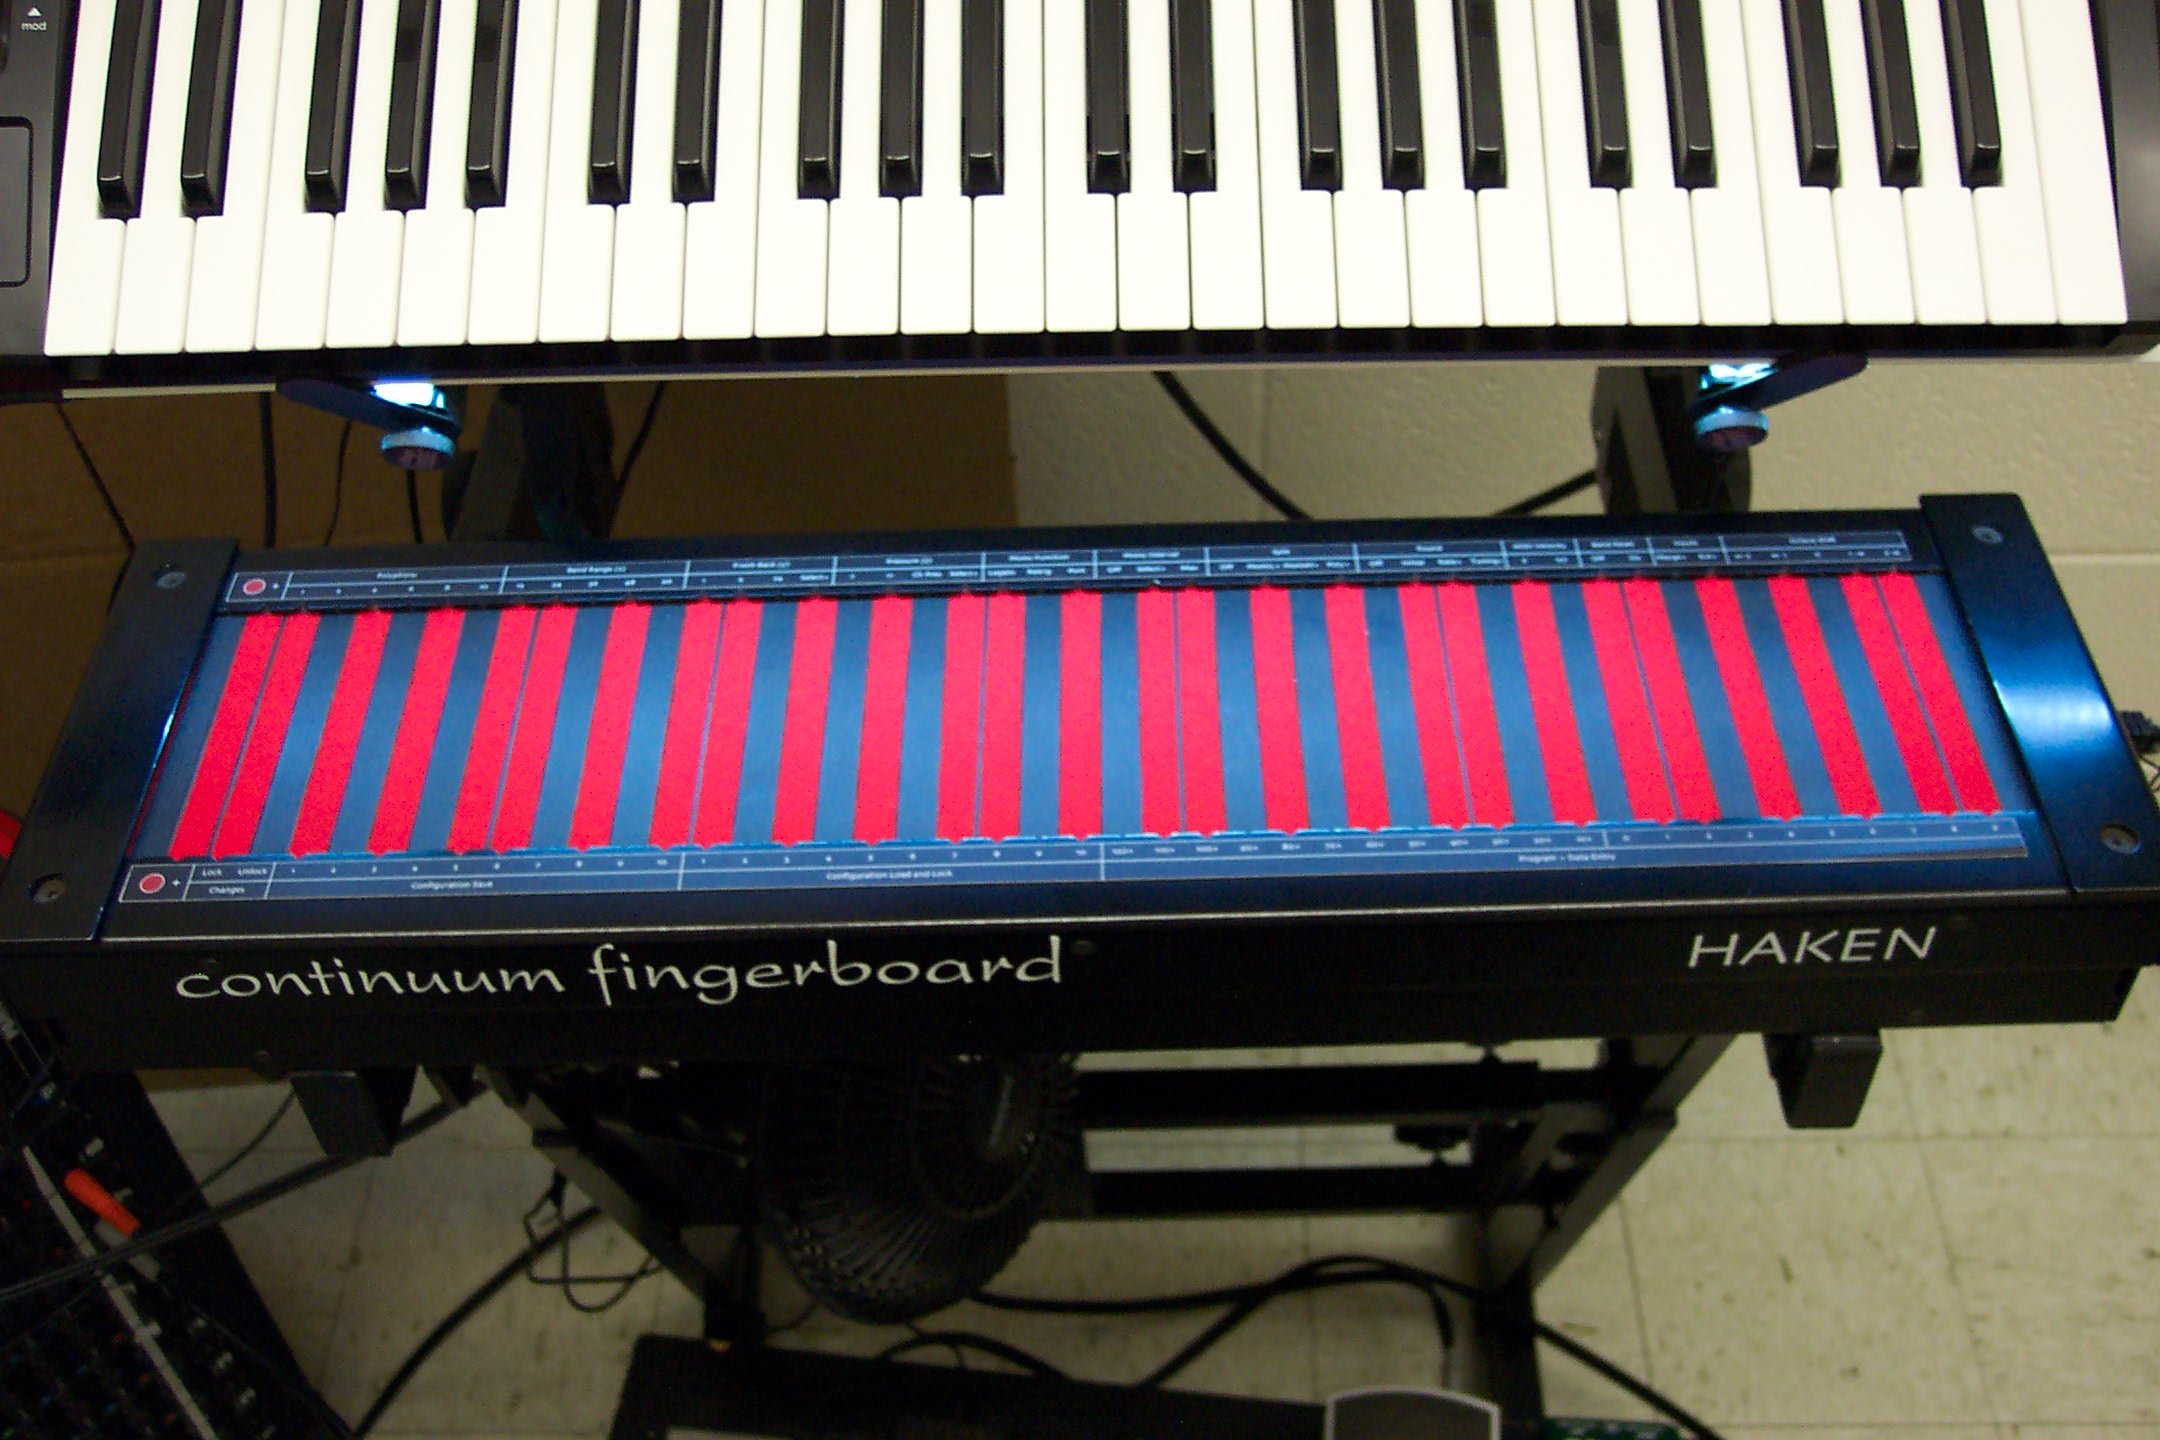
After doing a lot of performances on the Continuum's original surface, I got frustrated with my inability to play long passages without hitting wrong notes, even with rounding turned on. This especially happened when I would look away from my hands to see cues from people in the band. I decided to try adding paint to the black keys to raise them up over the original surface. That way I could feel the black keys without looking.
Fortunately I discovered Tulip fabric paint! They have a type called "Velveteen" which puffs up when you steam it to feel like velvet. I painted a few surfaces with this (using masking tape for straight lines) and immediately found that I could play more accurately, but slides and bends were still possible. These pictures are of the third or fourth version that used the Velveteen paint only, painted in 2014.
|
|
|
|
|
|
|
|
|
|
|
I played some gigs on the above surface, but started to notice that there was a lot of friction when sliding across the black keys. So in early 2015 I added an additional coat of a different type of paint with a slicker surface (Tulip Dimensional Matte).
Using this surface, I was able to play with way fewer mistakes and do slides more easily. Here is a video.
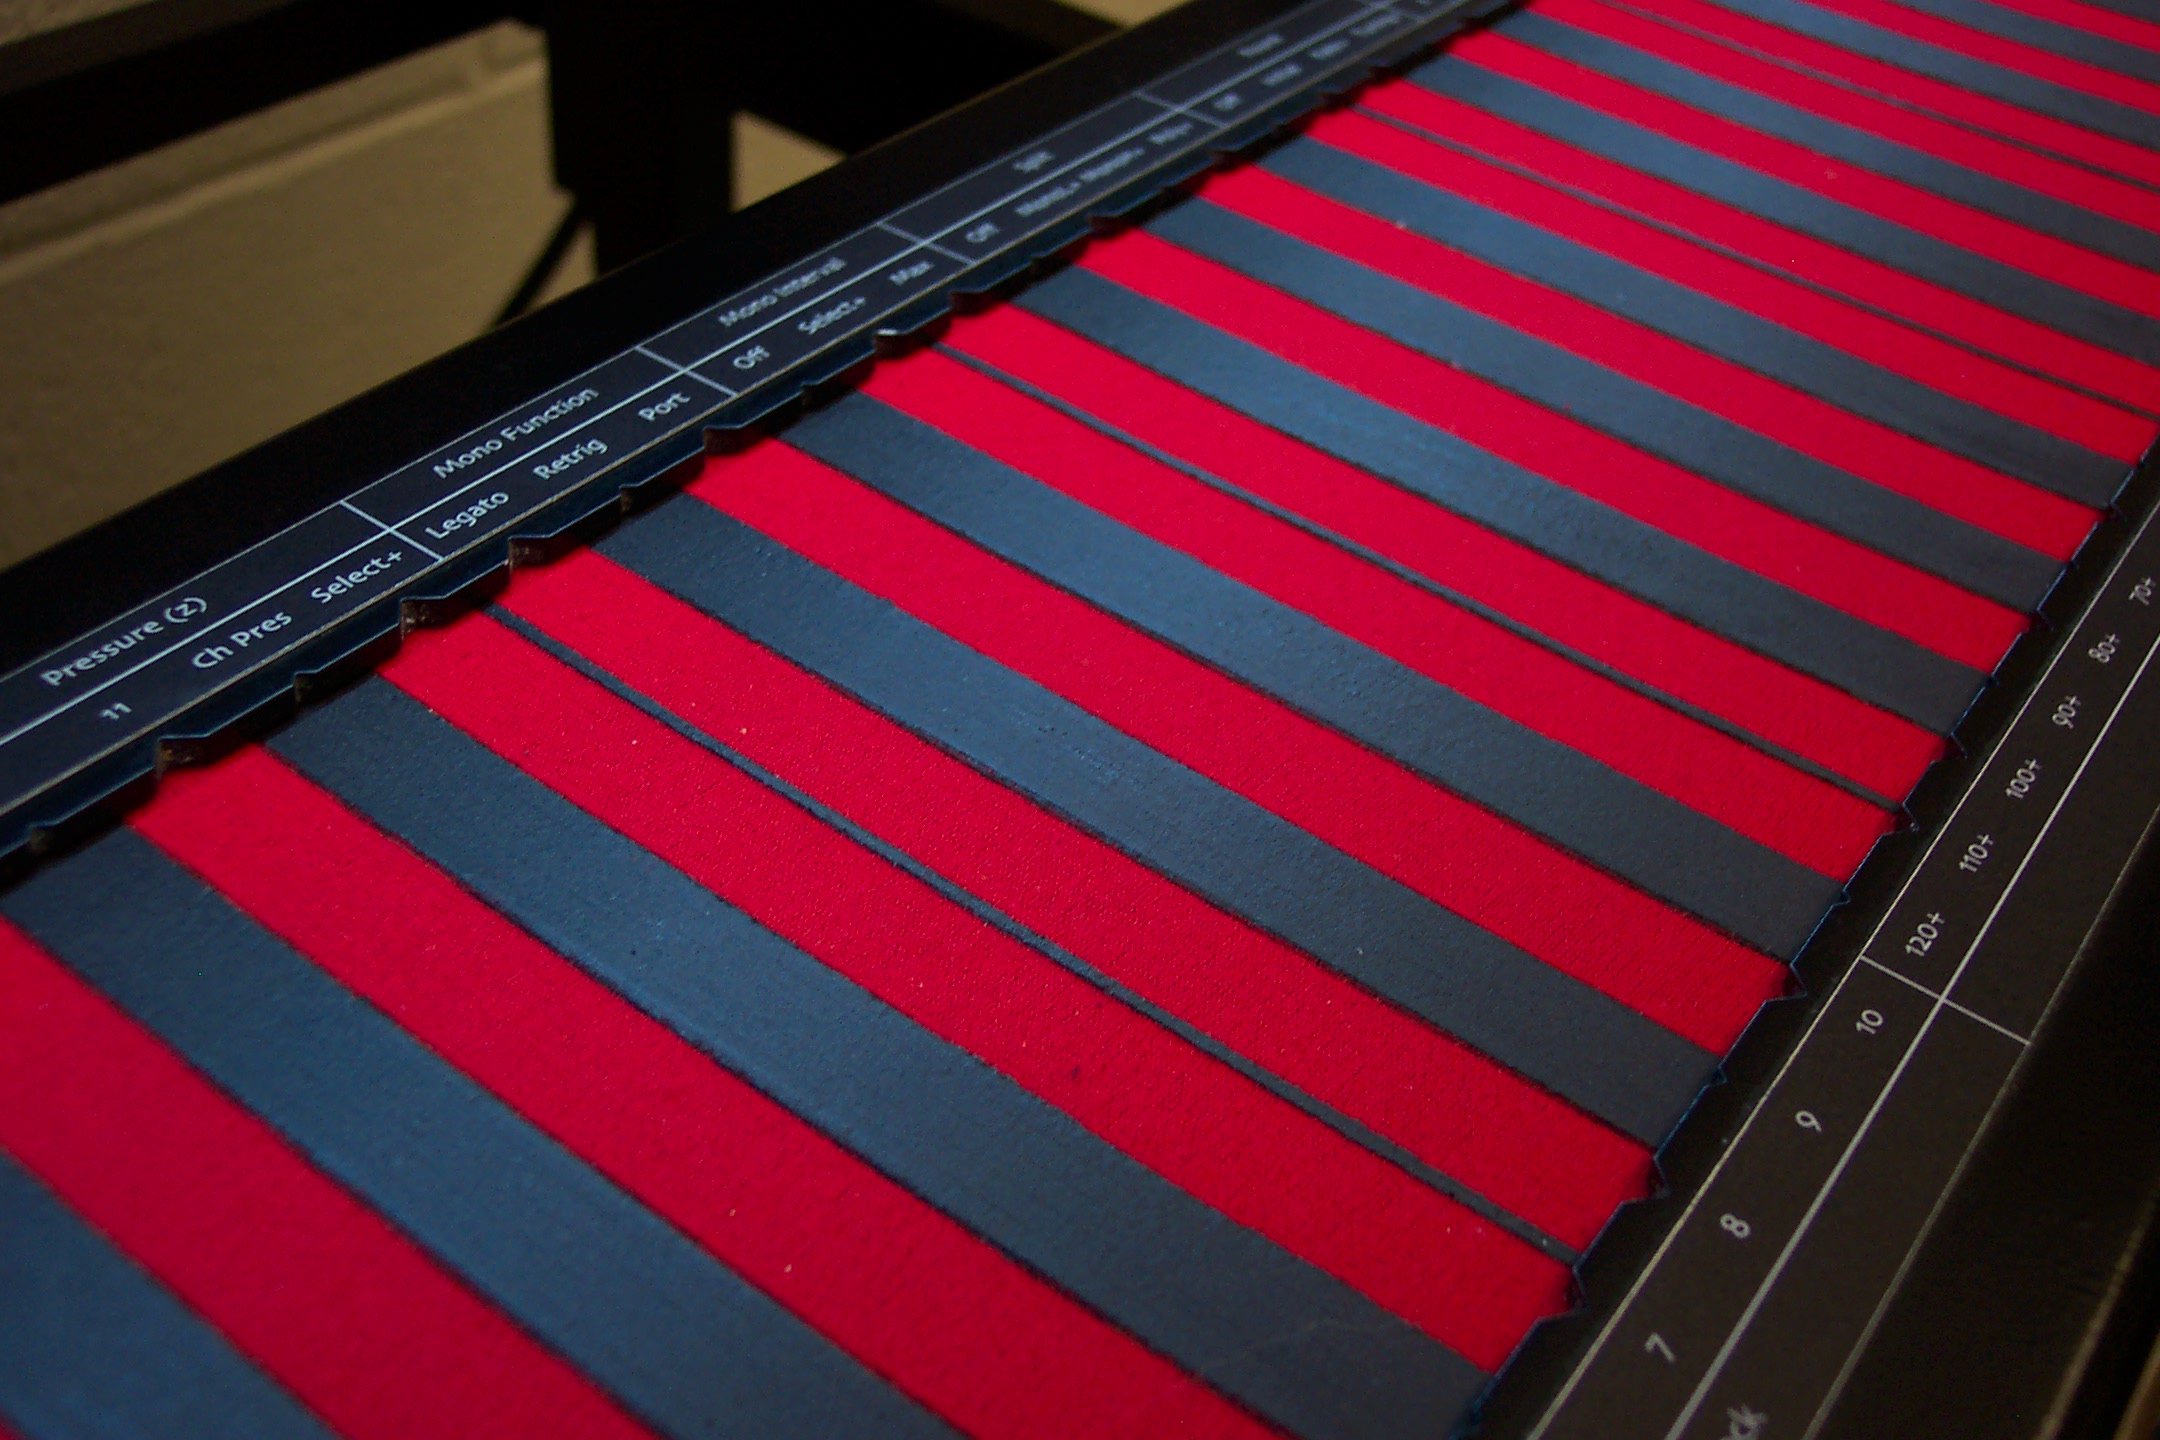
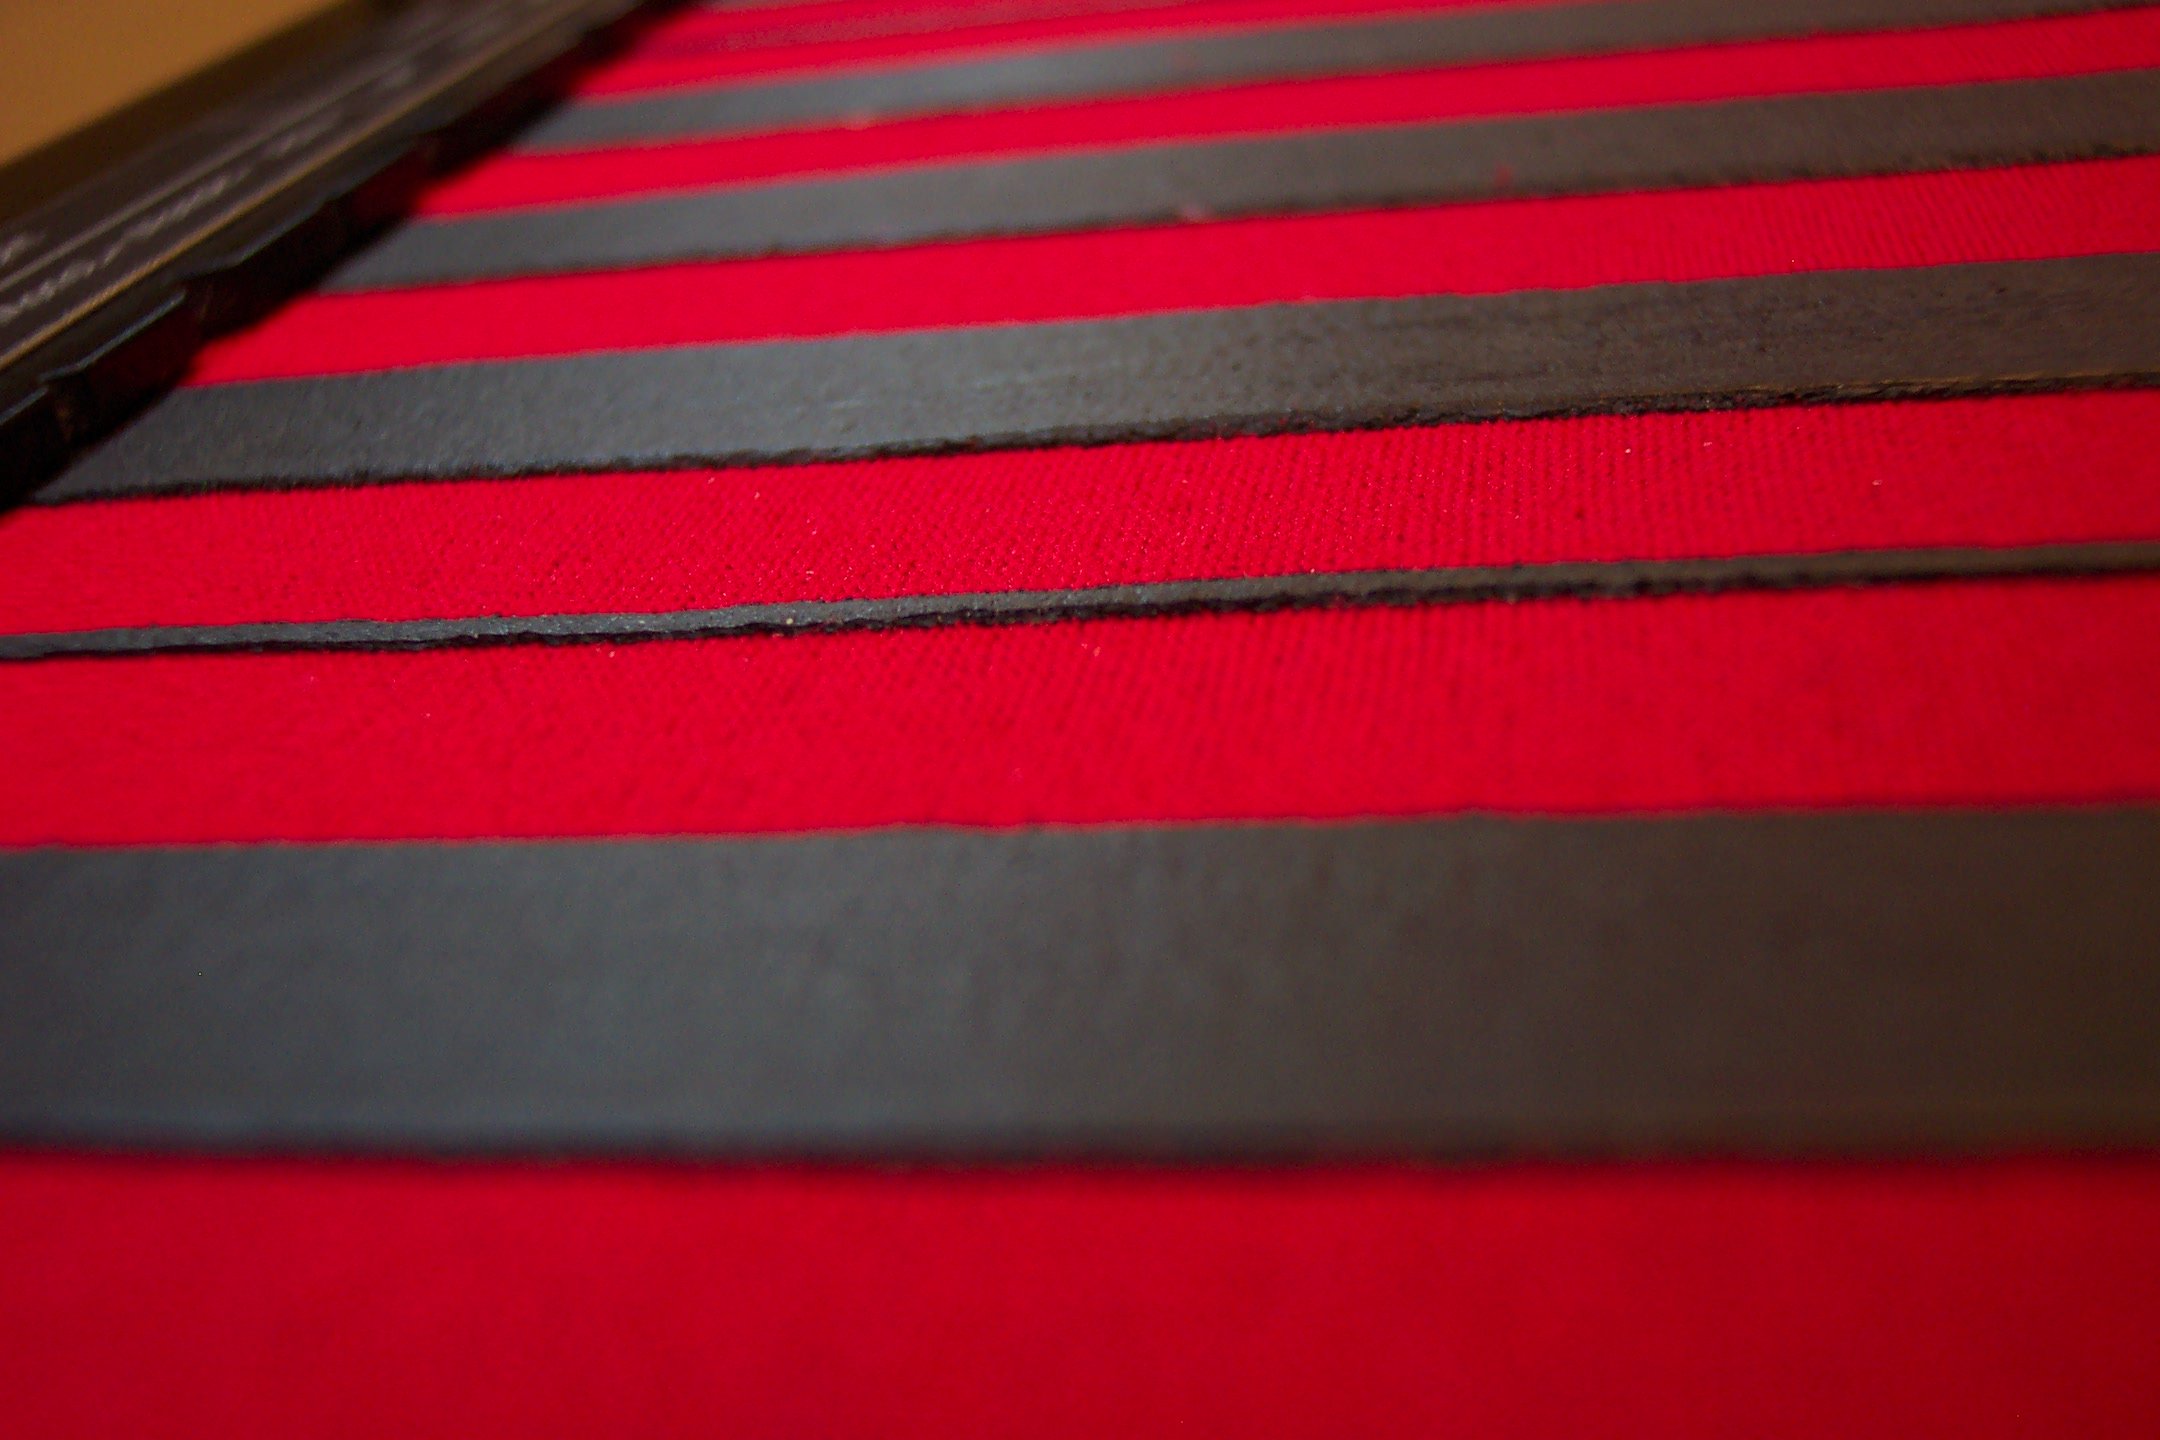
In summer 2015 I got a newer "classic" Continuum and moved this surface onto it. These pictures show what it looked like in early 2017 after going through many performances on both Continuums. The paint held up very well! A few times it got scratched, but the scratches went away after a while as the paint returned to its former shape.
The Dimensional Matte paint has a shinier appearance.
|
|
My (much) older Continuum has a playing surface that is smaller in the vertical direction than on the newer one. The line along the bottom in the pictures was made when the surface was mounted in the older Continuum. It was exposed when the surface was moved to the new one.
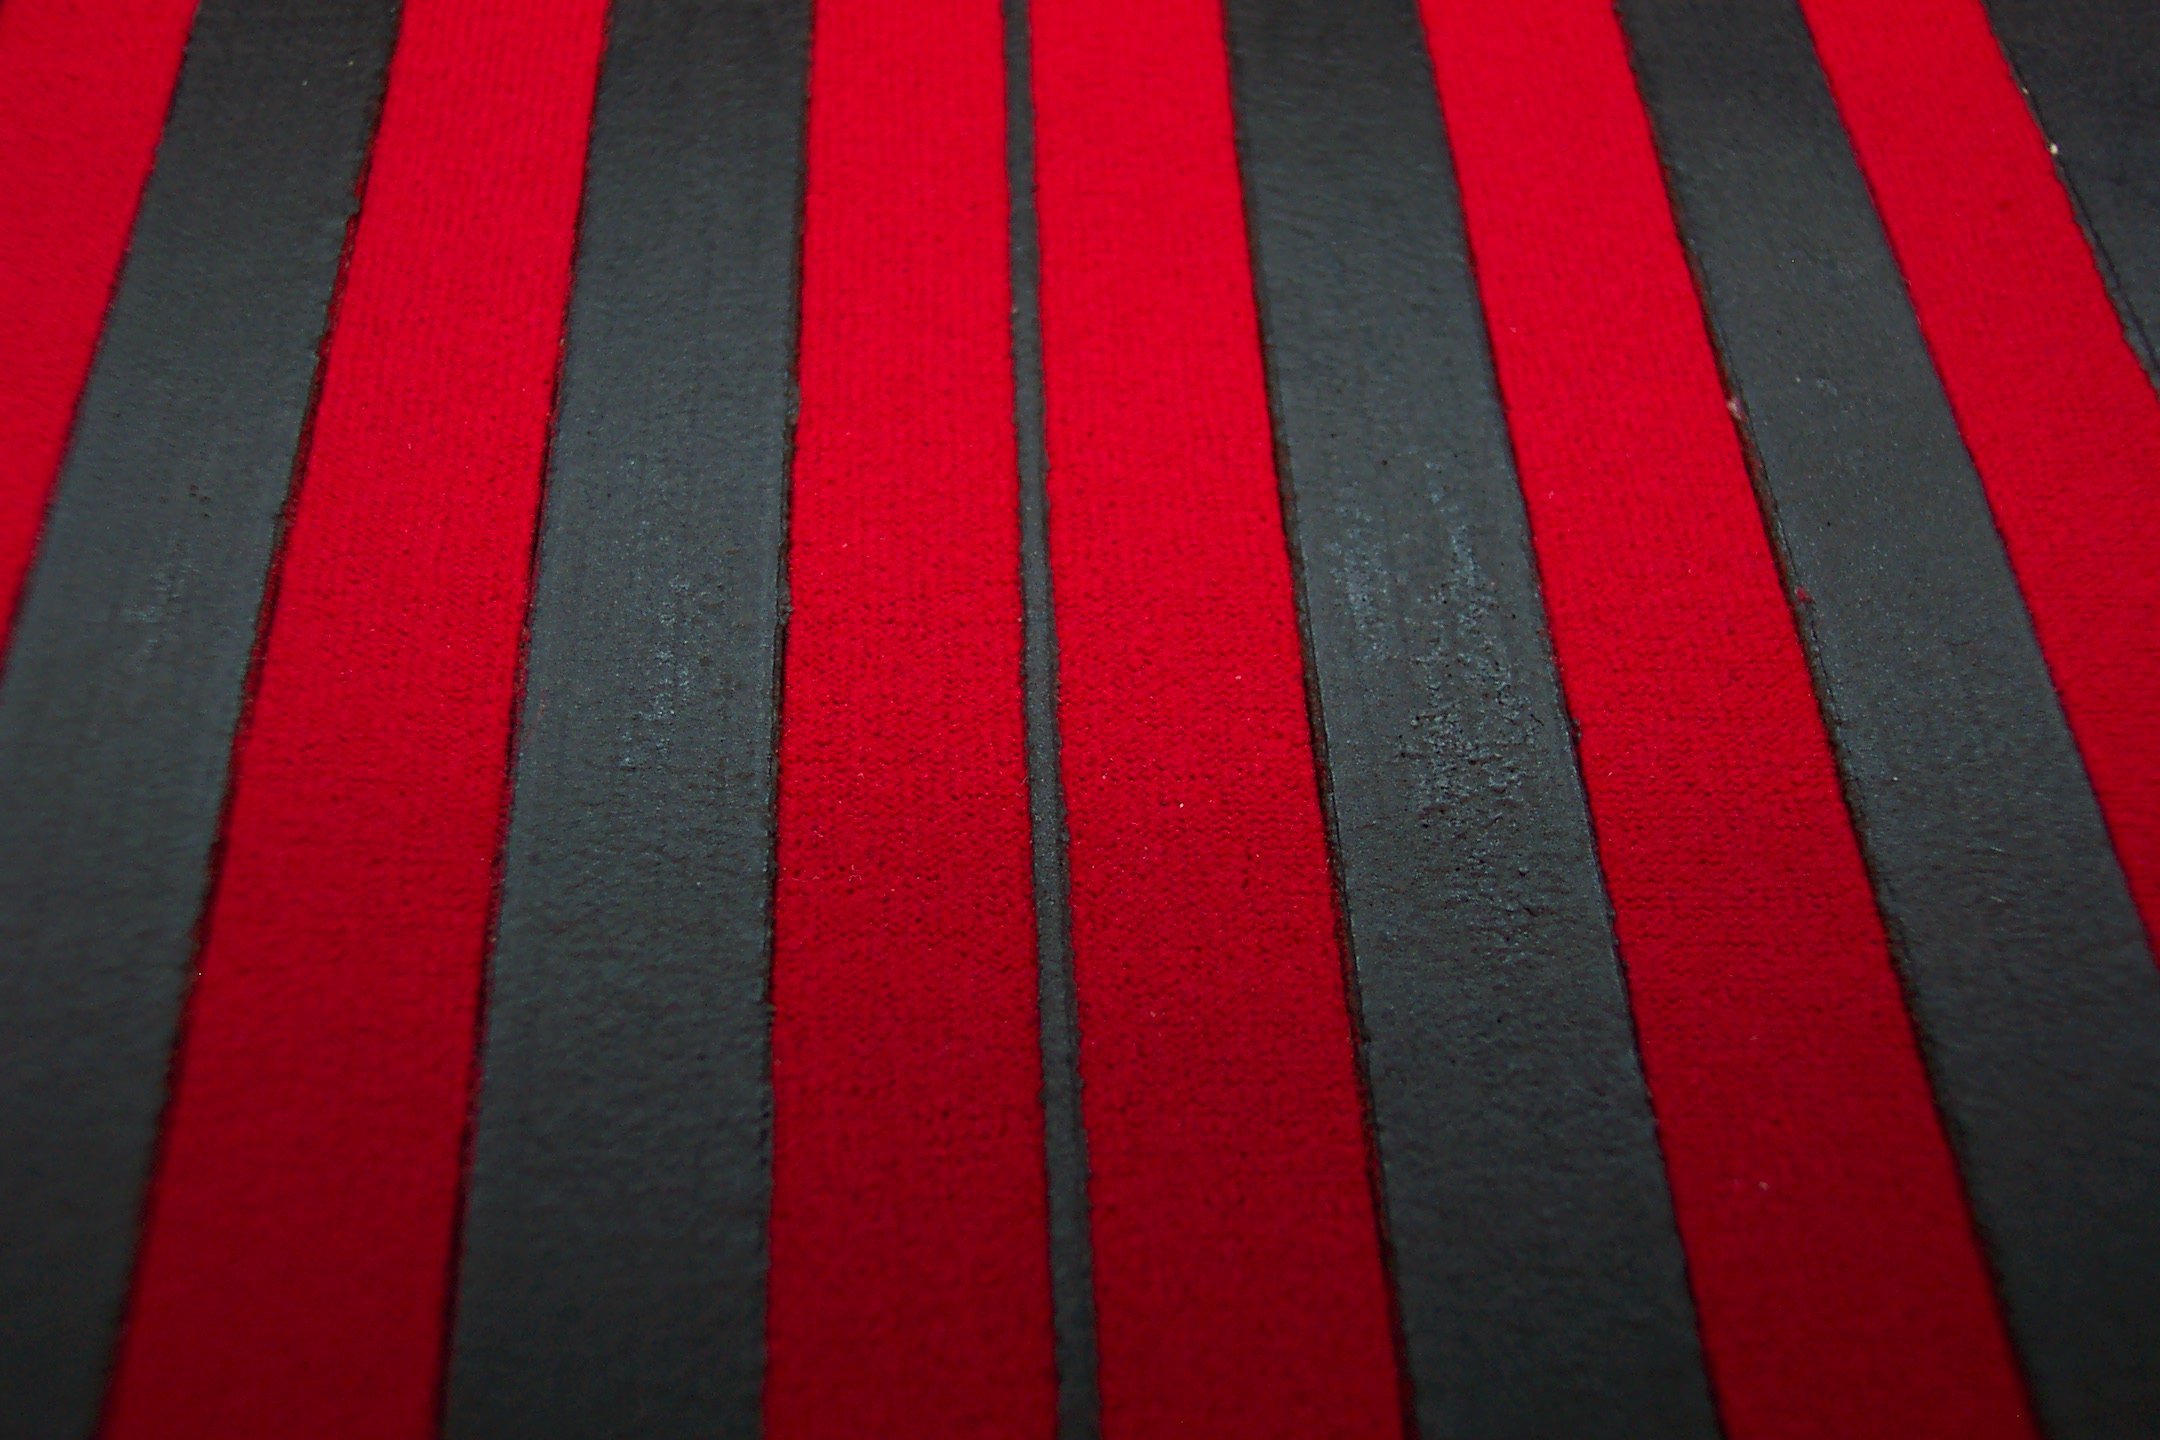
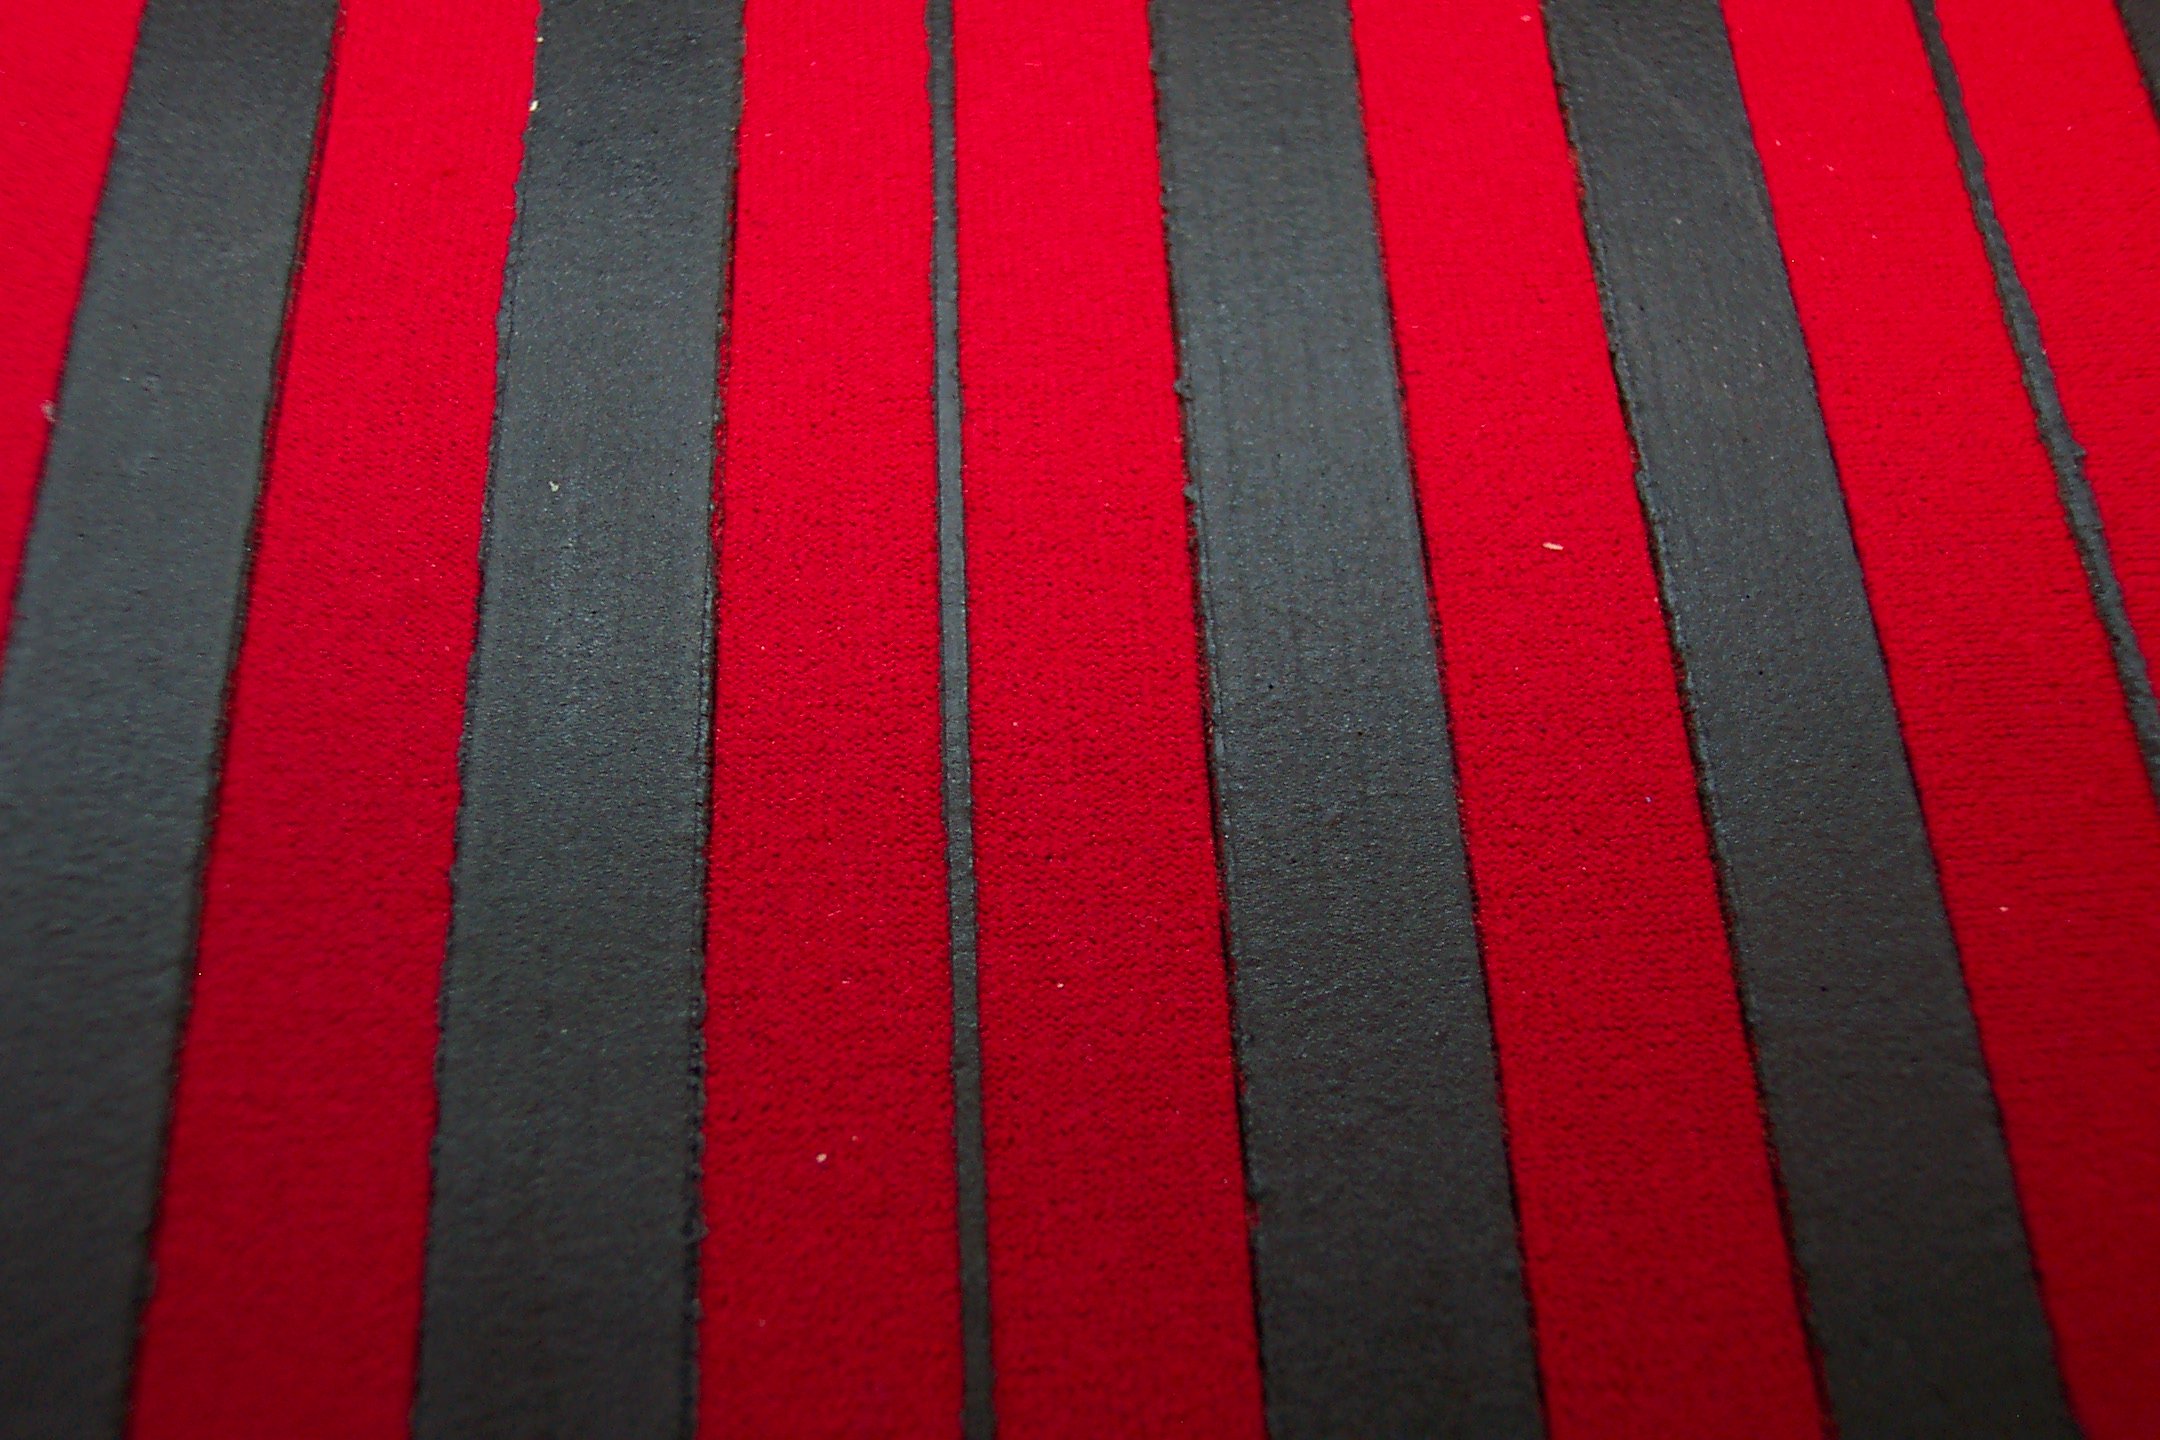
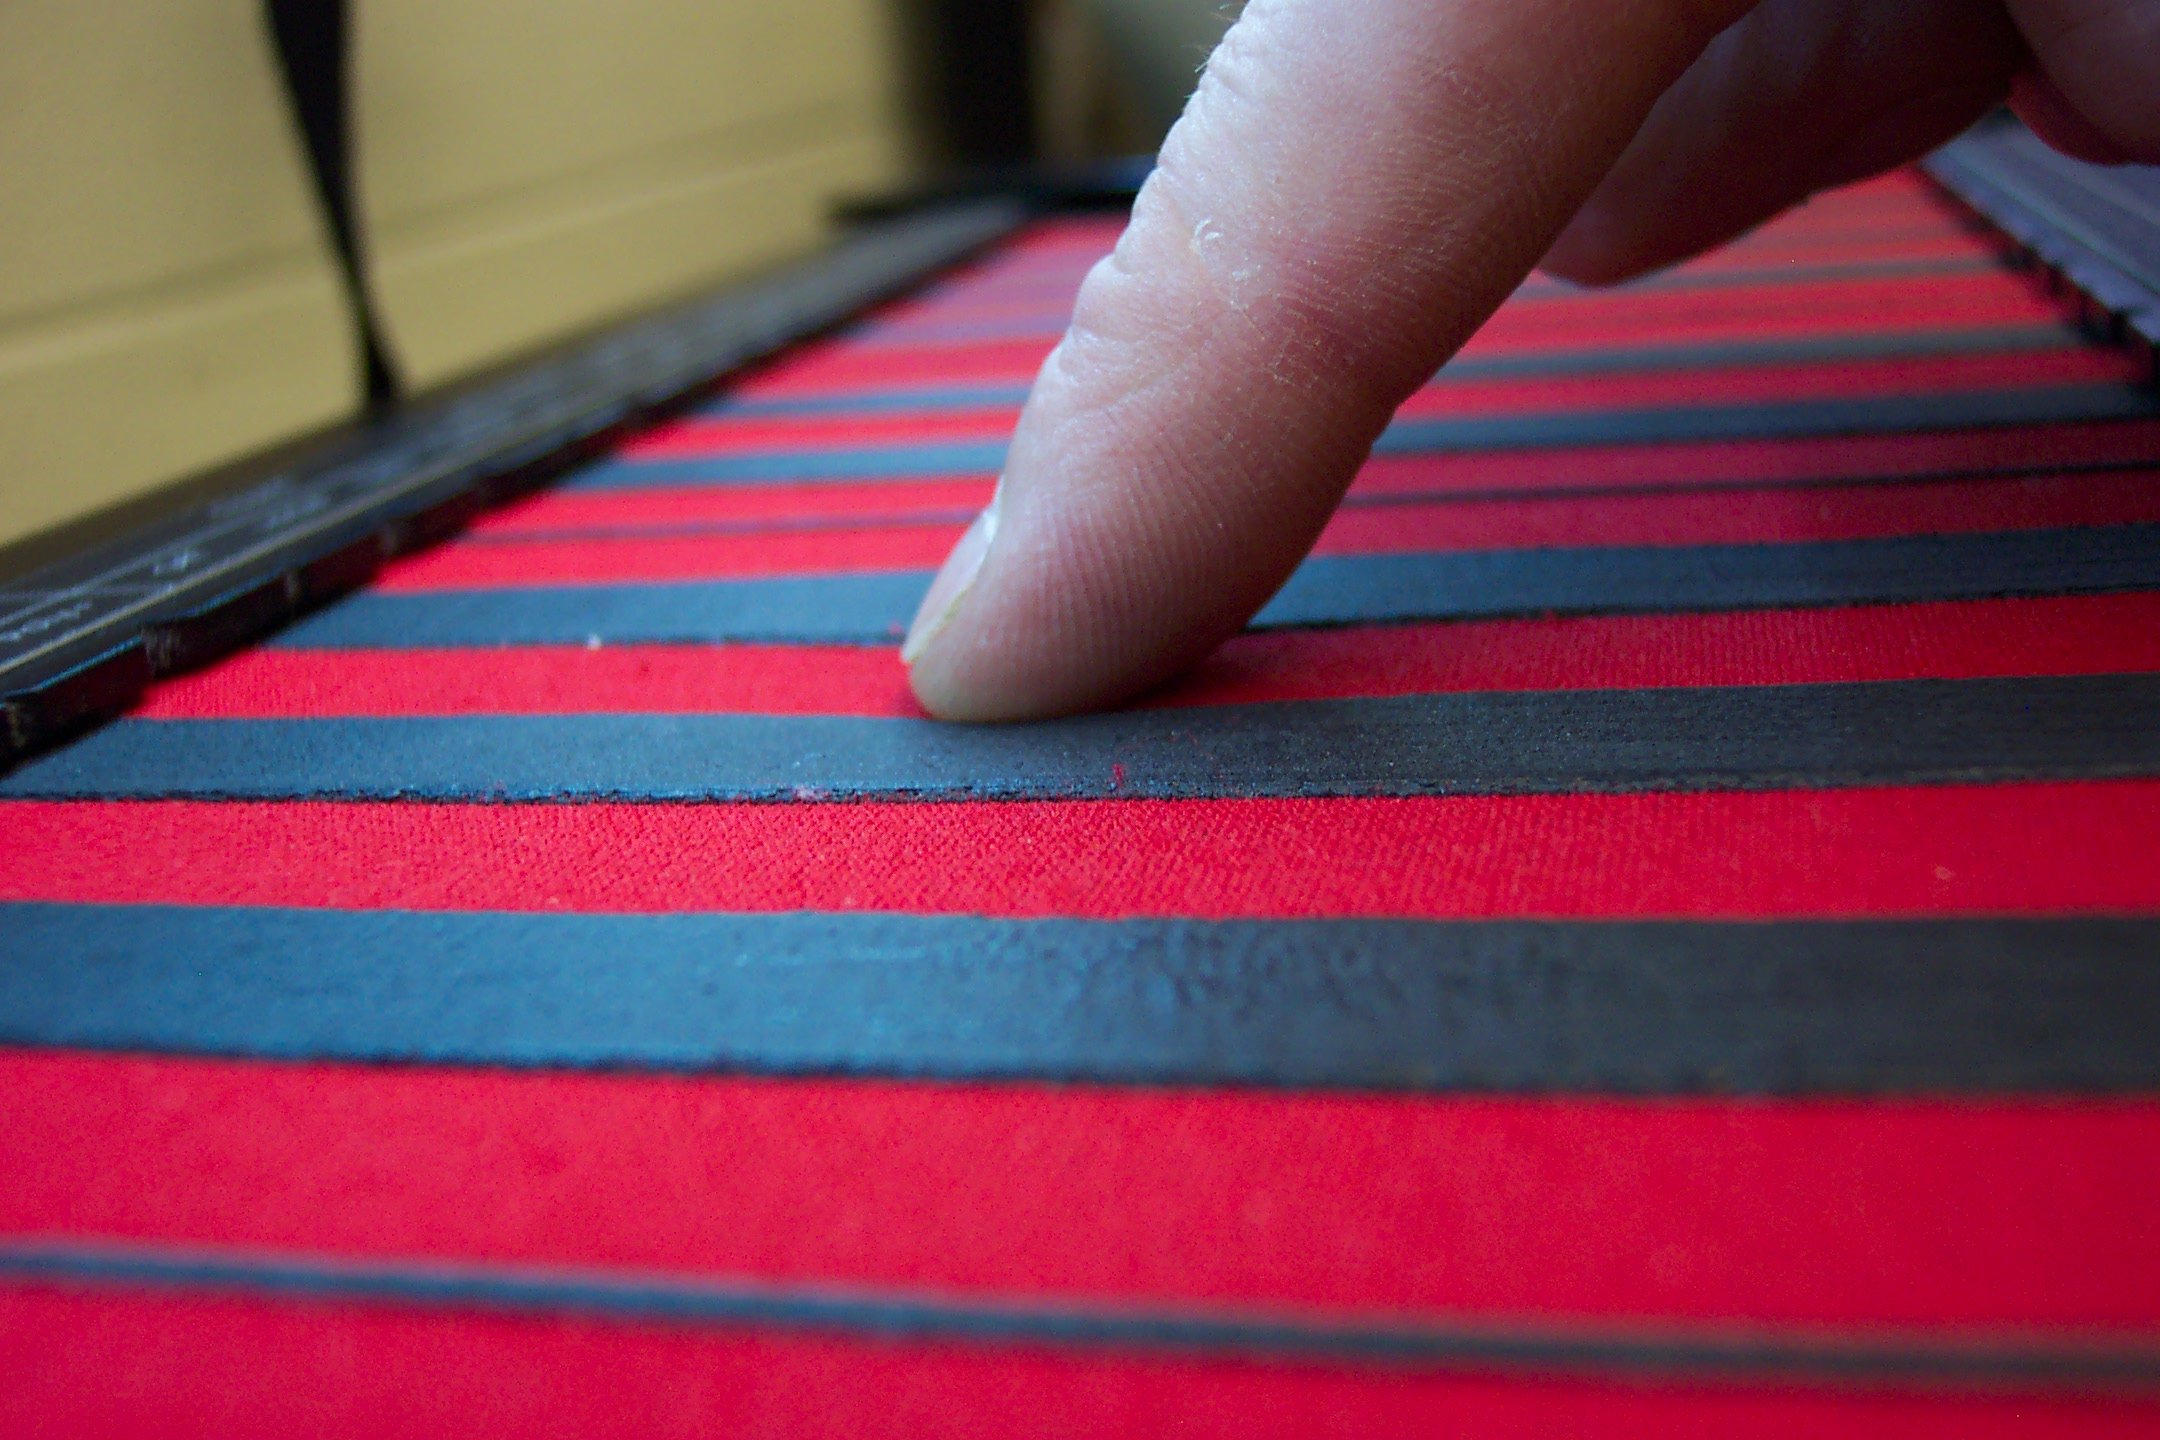
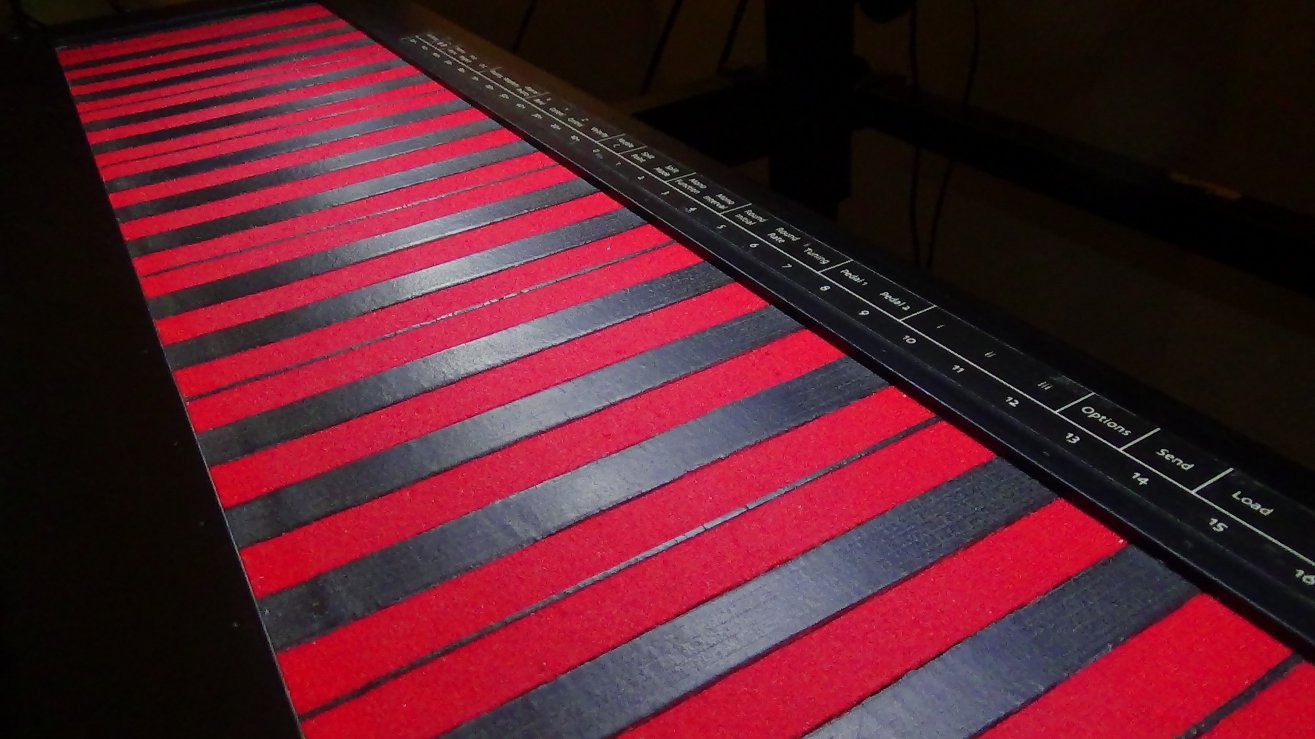
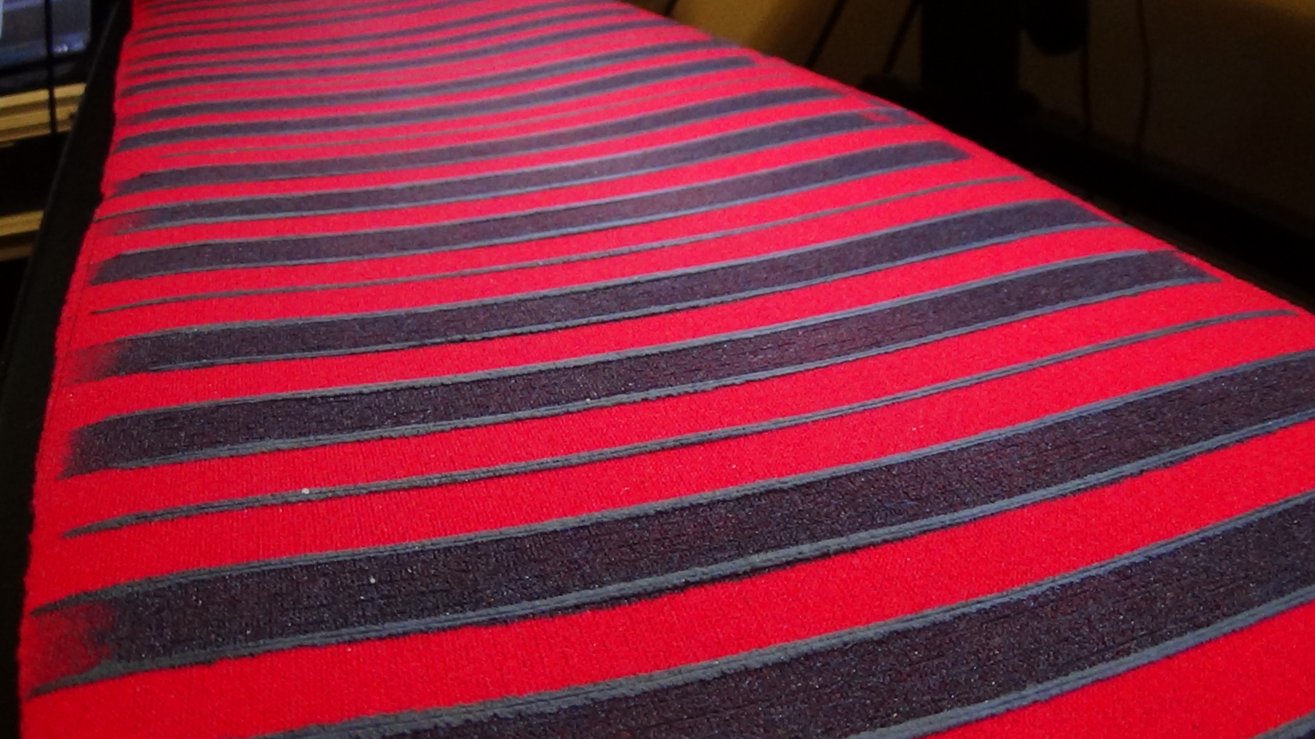
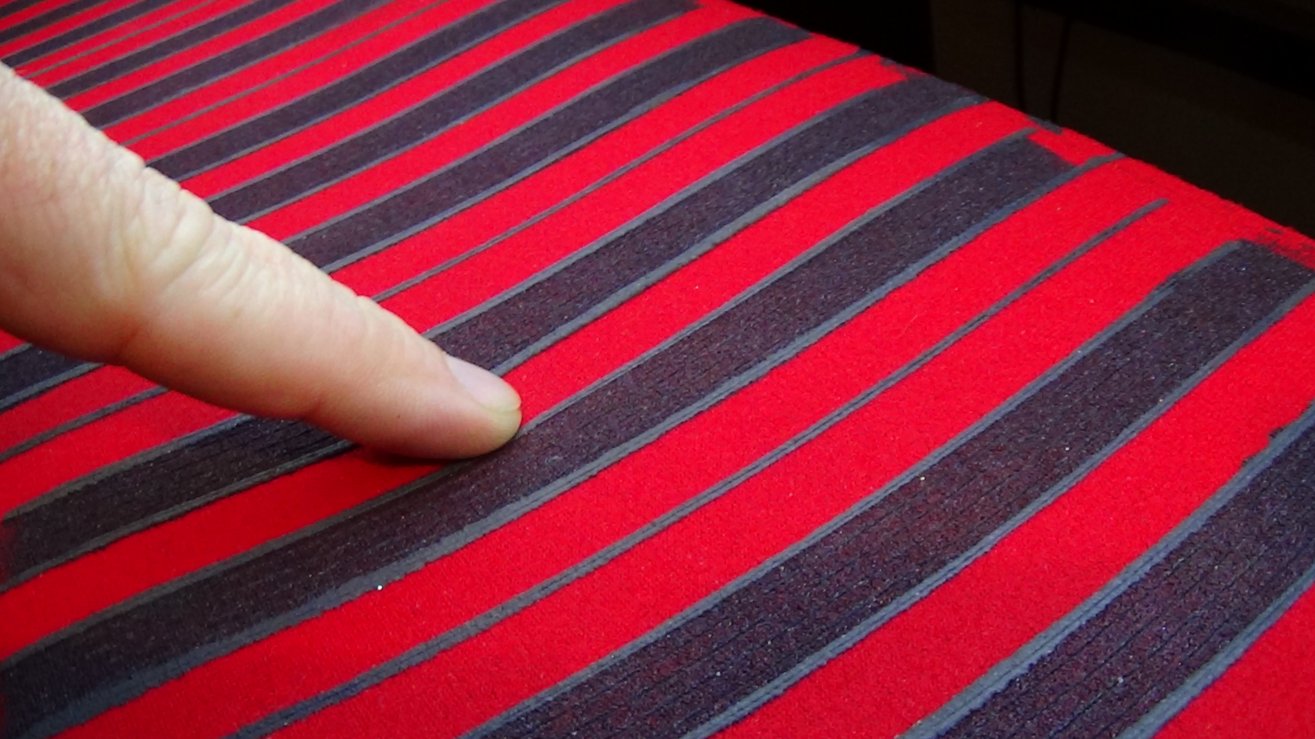
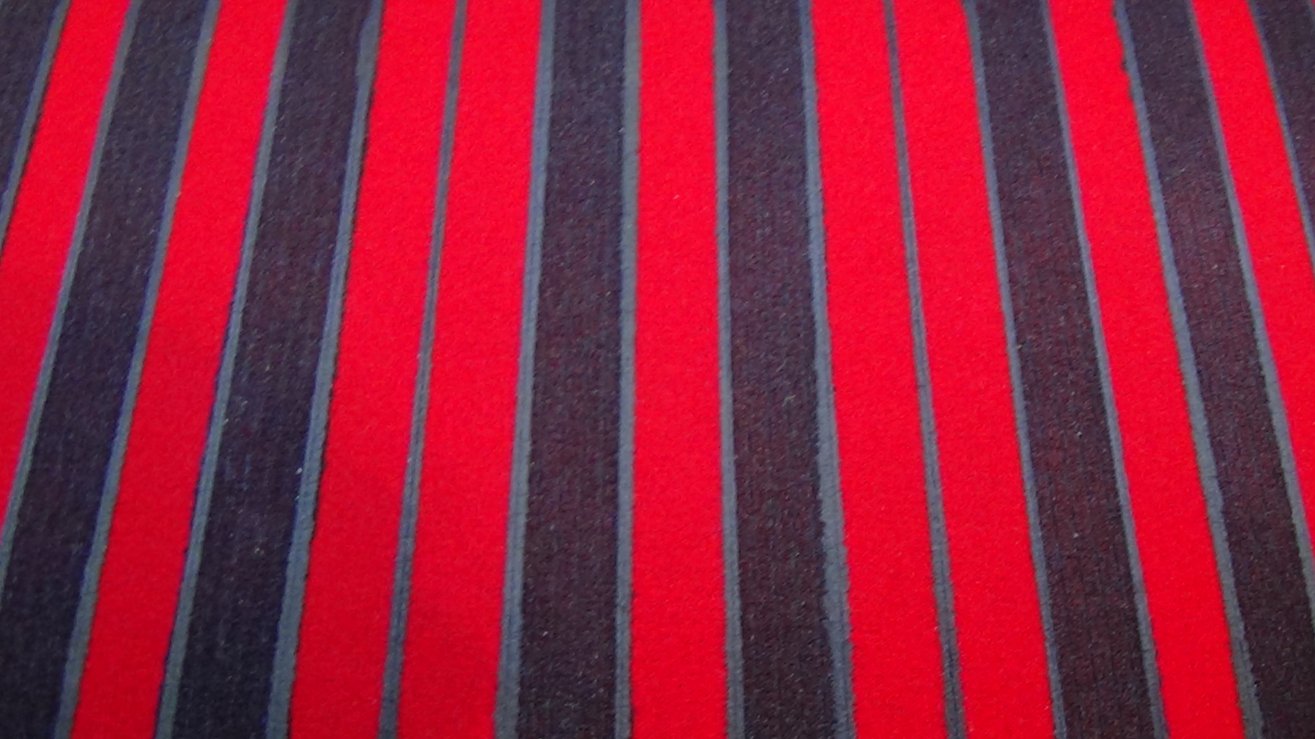
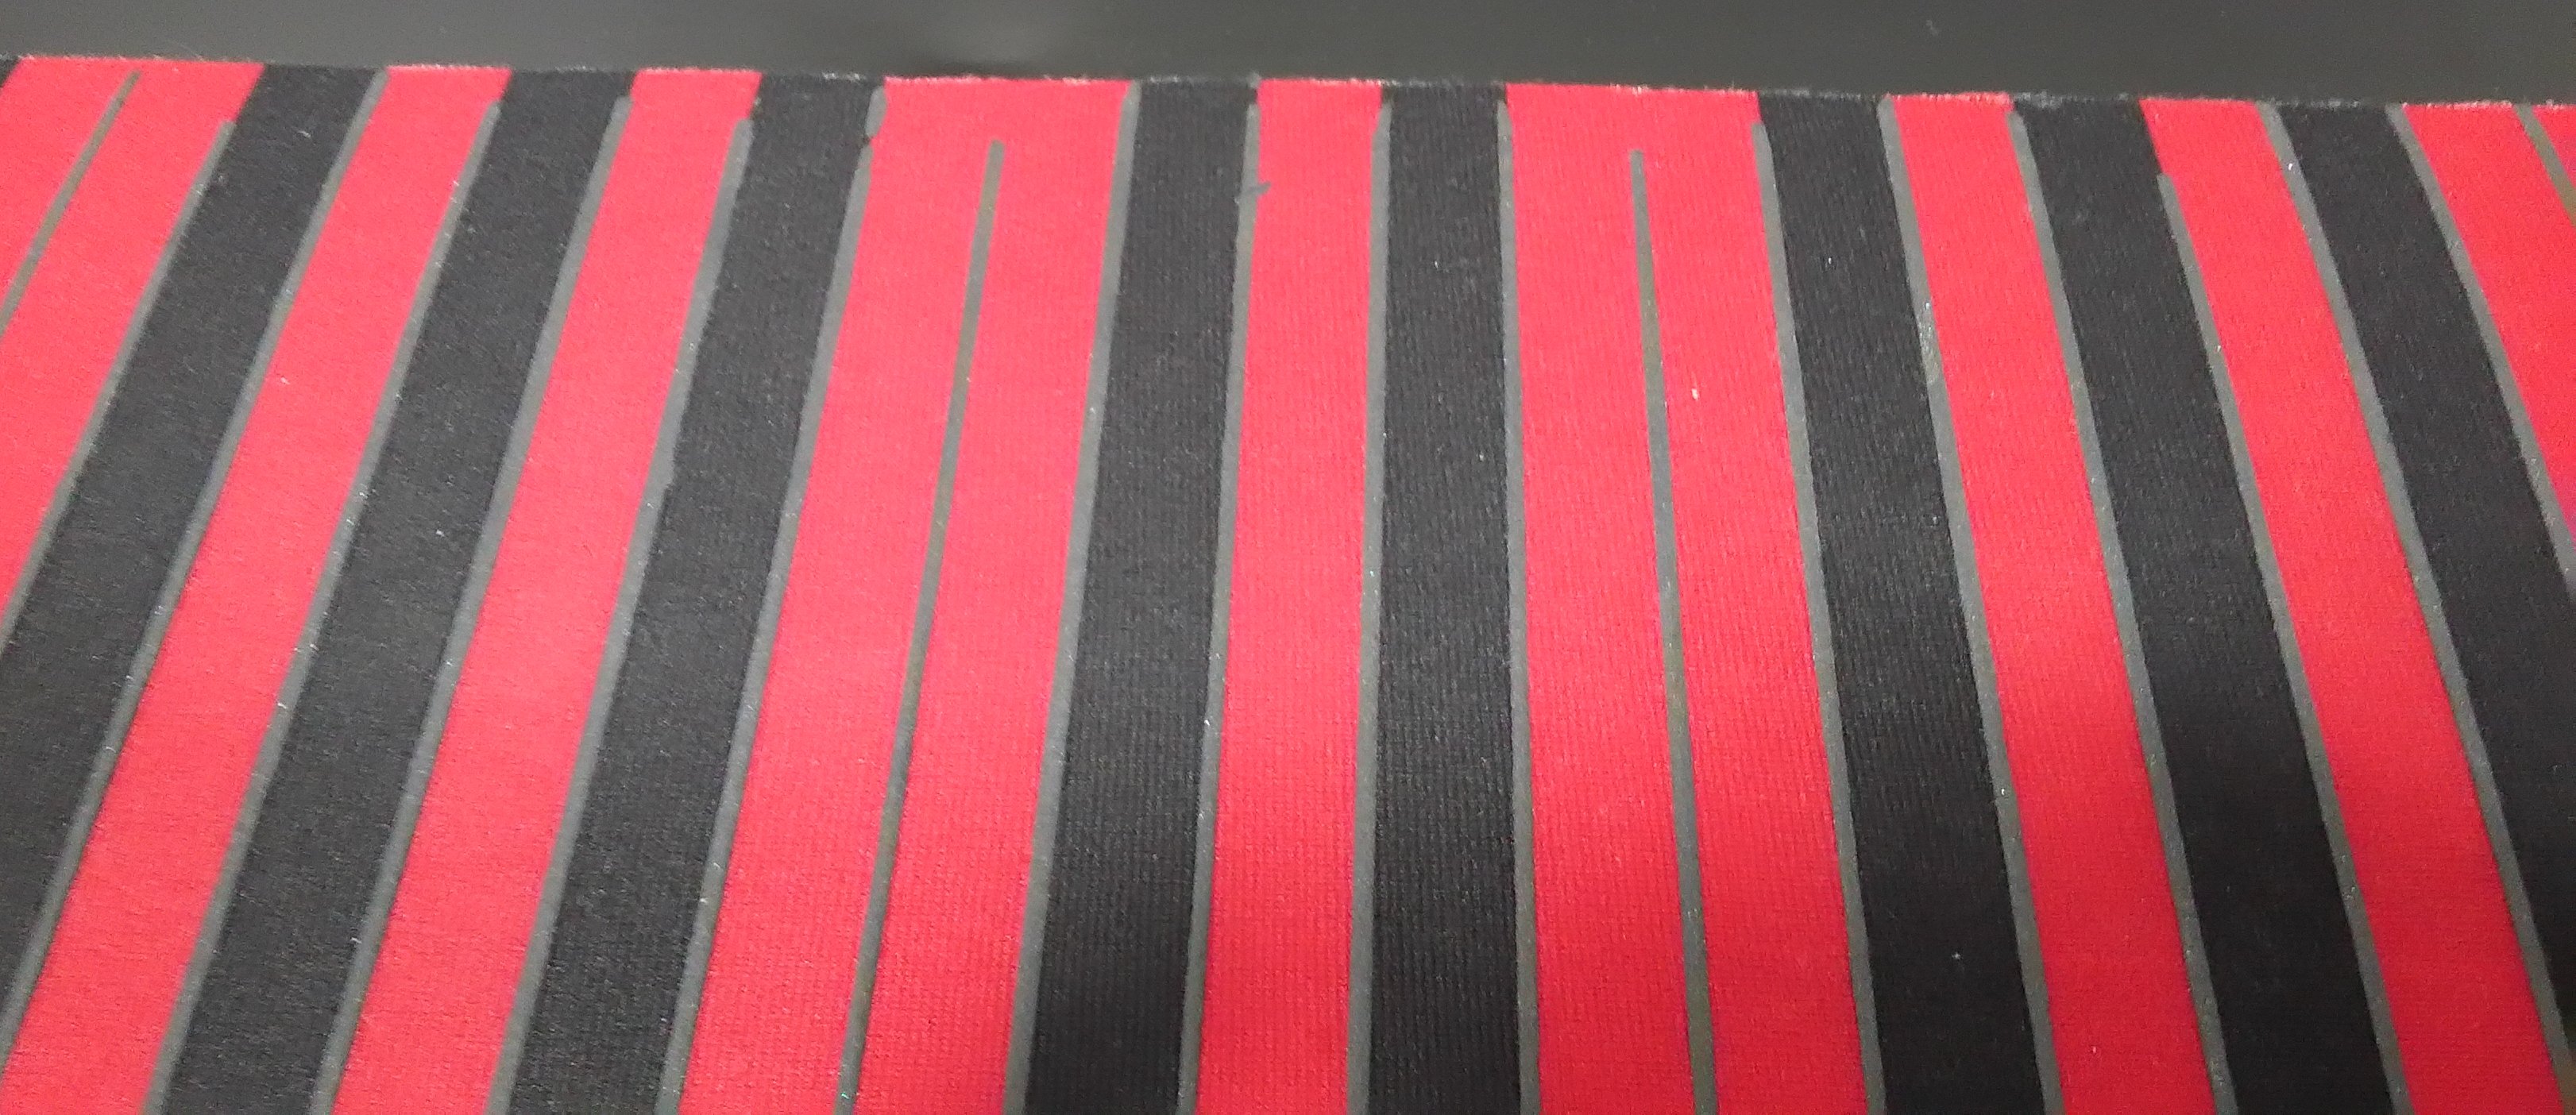
In early 2017, I started practicing a lot more and decided that I wanted to make the black keys more flexible to allow easier vibrato. The thick paint stripes on the above surface stiffened the material and made vibrato more difficult. On this new version, instead of having each entire black key raised up, only the borders between the notes are raised (the blue-gray lines) using Velveteen paint. The centers of the black keys are covered with a minimal amount of more flexible paint (Tulip Soft Matte), so they are easily visible but allow easier vibrato.
This surface has more friction when sliding, and it is harder to feel the difference between a black key and a red key without looking. But I decided those things weren't as important as good vibrato on black keys. There are always a trade-offs...
These images show the surface not yet installed in my Continuum.
|
|
|
|
|
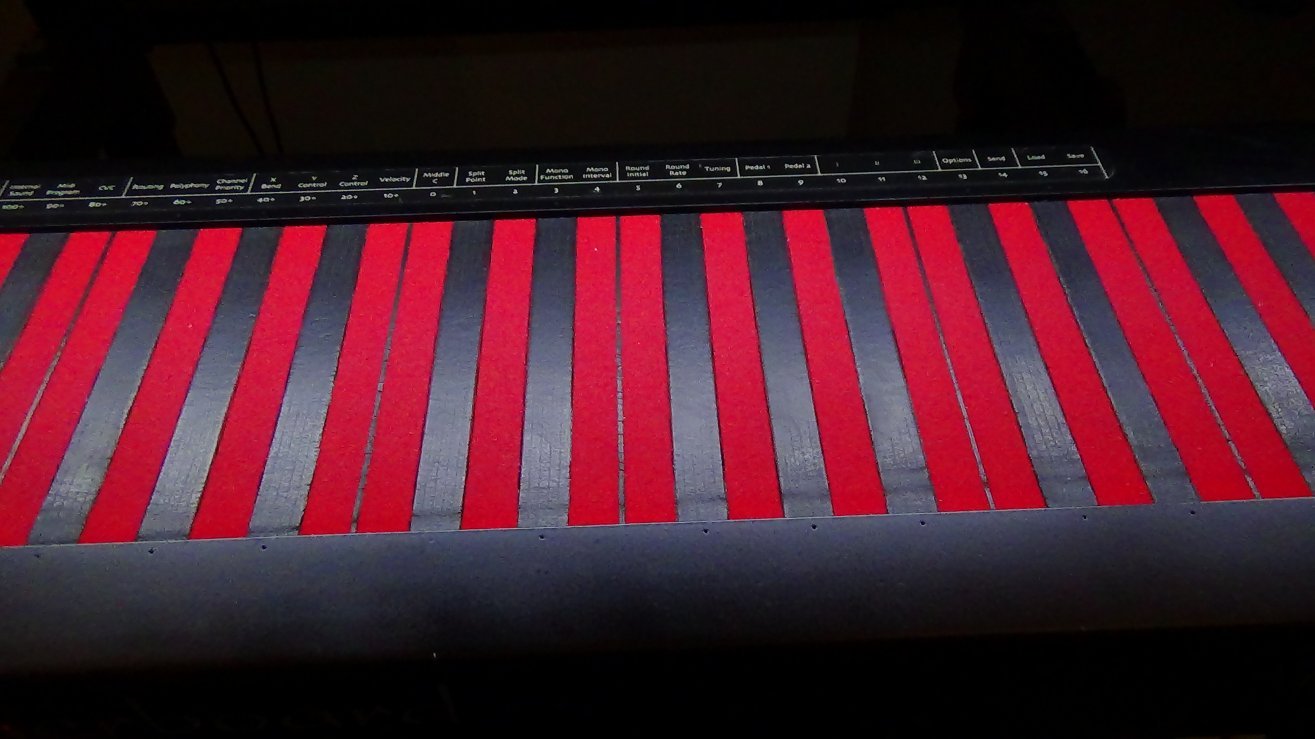
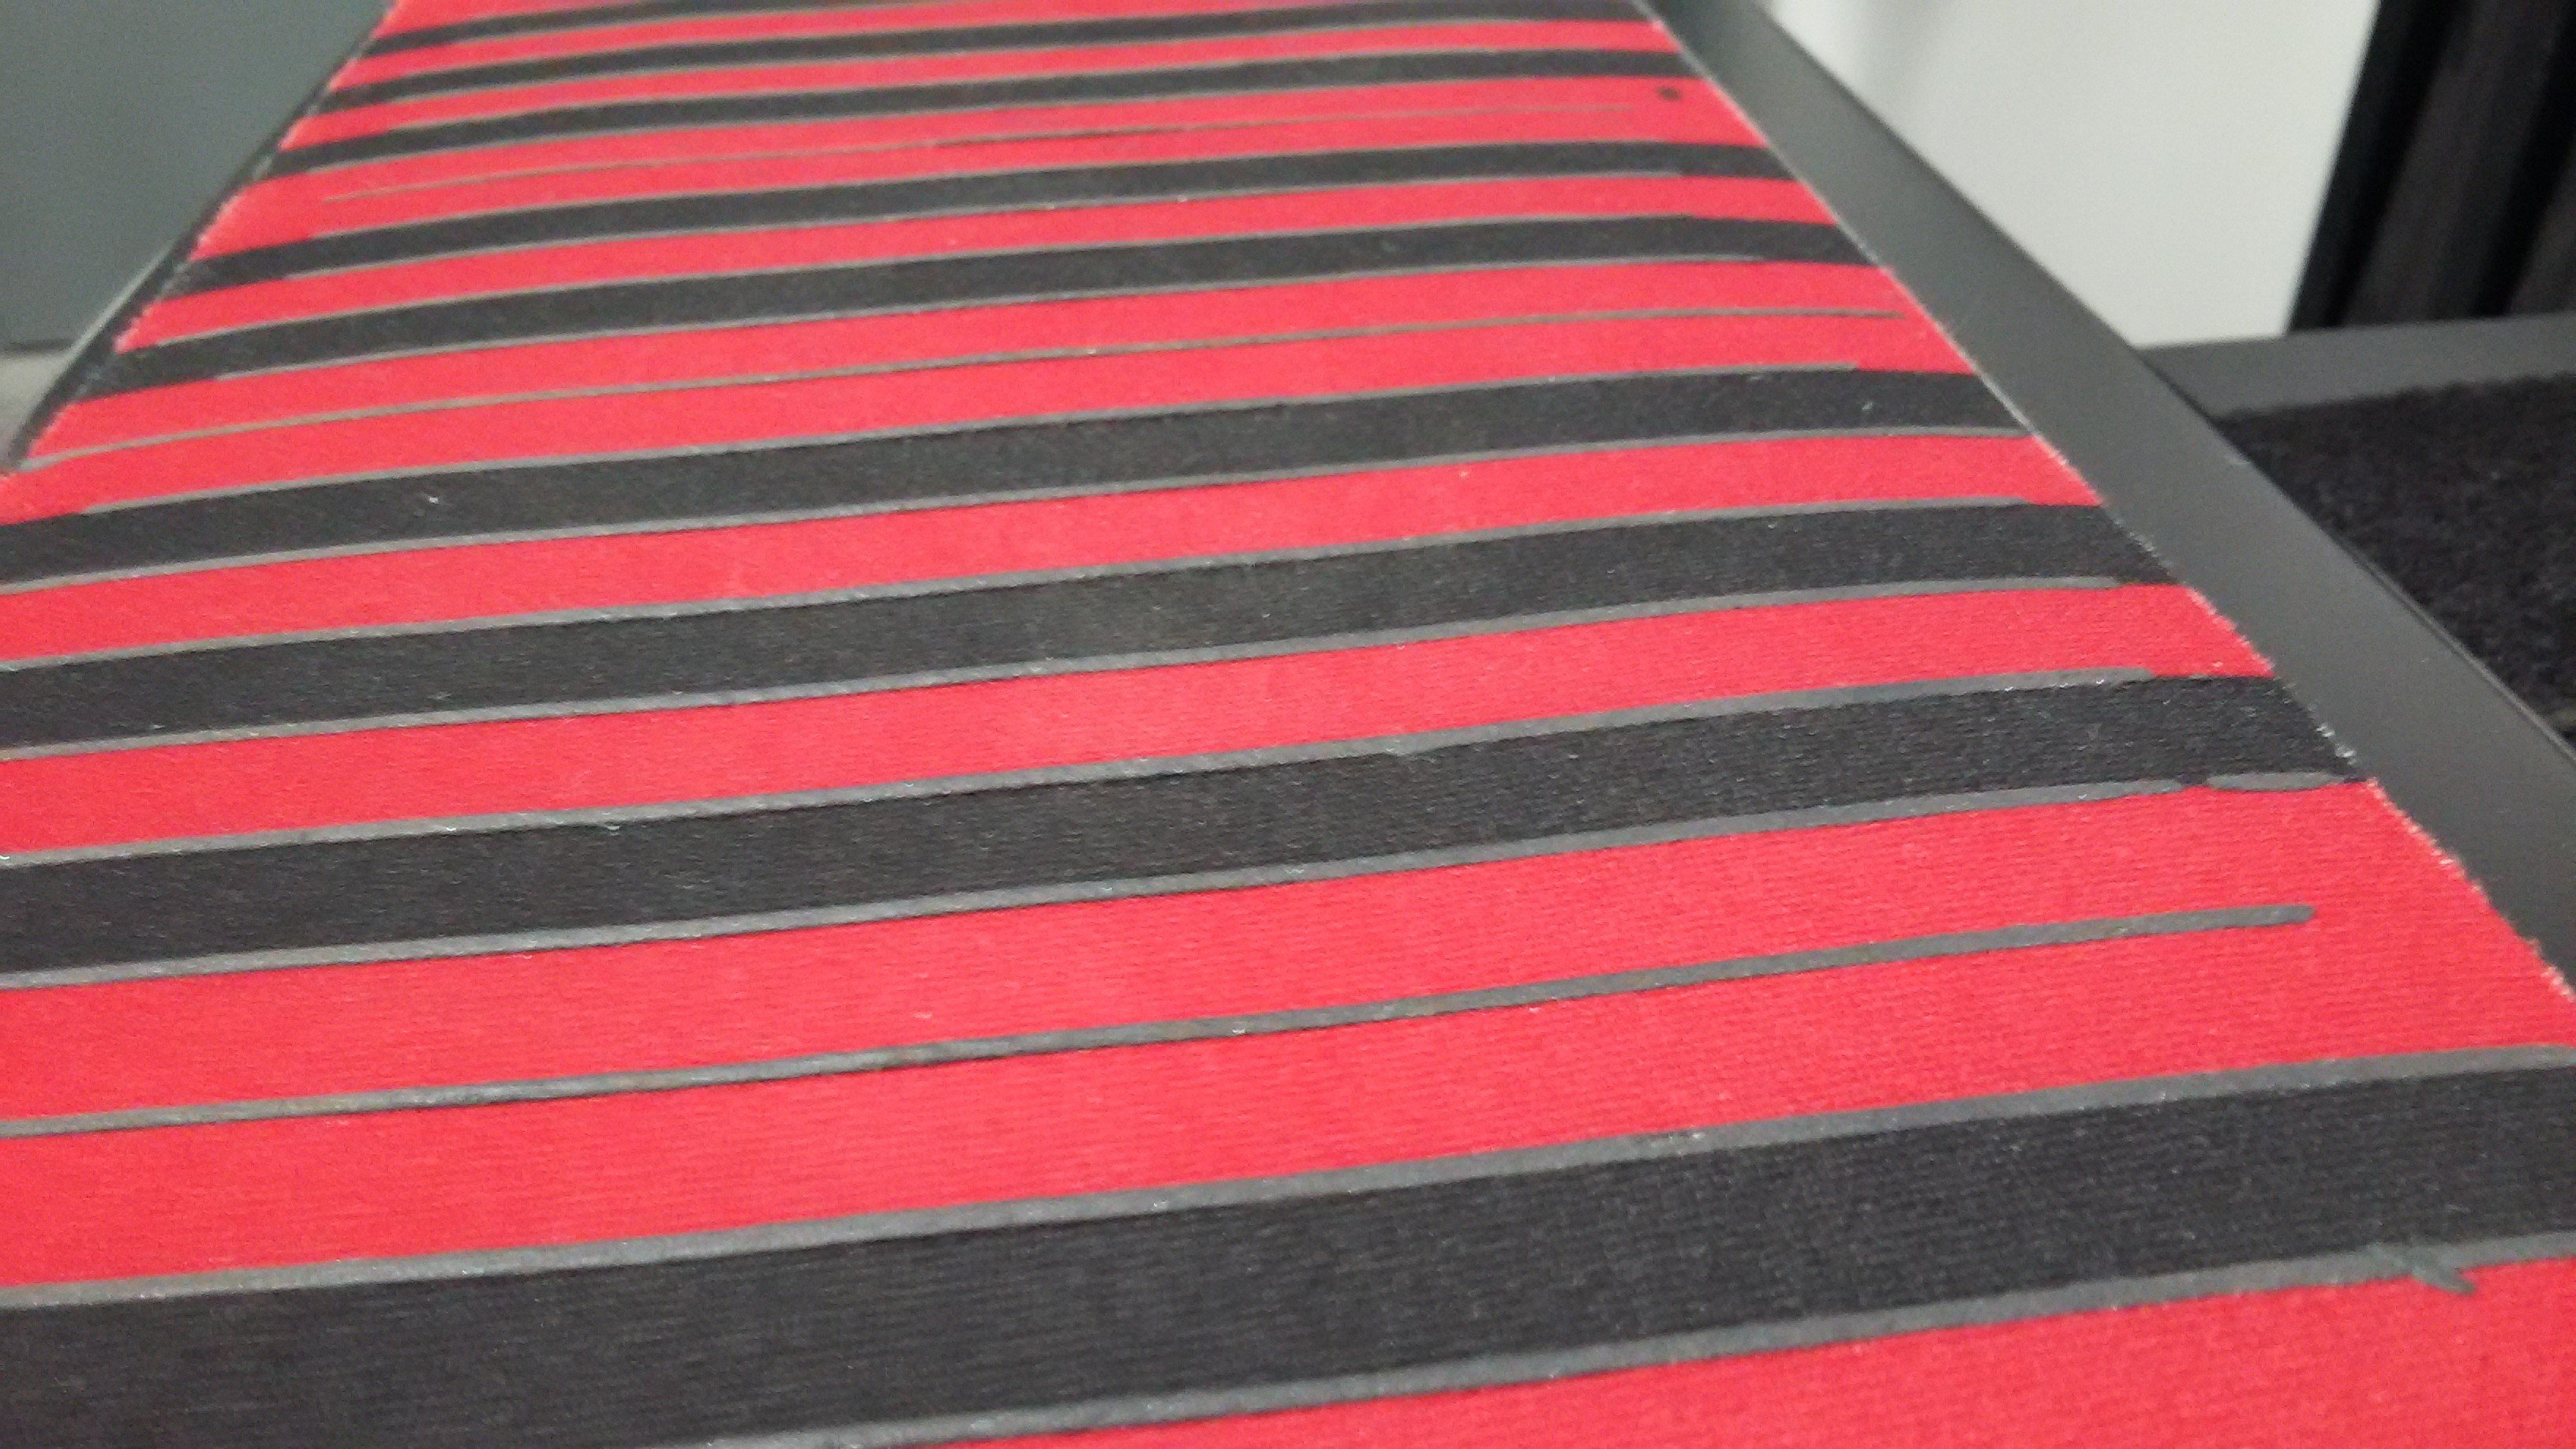
The newest Continuums have a different type of surface that looks really amazing and is very flexible. It gets stretched more than the older surfaces did. I took one of these and just painted on raised lines at the borders between the keys. I am buying a new Continuum that will have this surface installed. I think it's the best version possible. The only problem is that it will not work on "Classic" or earlier Continuums that can't handle the force of the stretching like a new one can.
Here are some pictures of the new surface prior to installation:
|
|
|
|